
A clogged air purifier filter doesn’t just reduce your unit’s effectiveness, it can actually circulate dust and allergens back into your home. Most homeowners don’t realize that regular air purifier filter cleaning is the difference between breathing cleaner air and just pushing air around. The good news? It’s a straightforward task that takes 15 minutes, requires minimal tools, and can extend your filter’s life by months. Whether you’re dealing with a reusable pre-filter or a HEPA layer, understanding how to clean your air purifier filter properly ensures your unit works at peak performance.
Table of Contents
ToggleKey Takeaways
- Regular air purifier filter cleaning takes just 15 minutes and can extend your filter’s life by months while restoring peak performance and air quality.
- A clogged filter reduces airflow, forces your unit to work harder, decreases air quality, and shortens filter lifespan—making maintenance essential for cost savings.
- Use a vacuum with brush attachment, soft-bristle brush, and tap water on reusable filters; avoid pressure washers, heat, and harsh chemicals that damage filter media.
- Washable filters require thorough air-drying for at least 2 hours before reinstallation to prevent mold growth, while HEPA and carbon filters should only be dry-cleaned.
- Replace filters instead of cleaning if they are marked disposable, show damage, remain clogged after cleaning, or smell musty, as these indicate end-of-life status.
- Set filter replacement reminders for every 6–12 months based on your home’s air quality, pet presence, and purifier usage to maintain consistent indoor air quality.
Why Regular Air Purifier Filter Cleaning Matters
Your air purifier pulls particles from the air and traps them in the filter, dust, pet dander, pollen, and more accumulate over time. When the filter gets clogged, airflow slows, and your unit has to work harder to pull air through. This means reduced air quality, higher energy use, and a shorter lifespan for the filter itself.
Regular cleaning extends filter life because it removes surface dust before it becomes a compacted, hard-to-remove layer. Depending on your home’s air quality and filter type, you might clean a reusable pre-filter every 2–4 weeks, while HEPA or carbon filters need less frequent attention. Hospitals and commercial buildings follow strict filter maintenance schedules for a reason, clean filters perform better, and neglected filters fail faster. Cleaning also saves you money. A replacement filter can cost $40–$150, so maintaining what you have with simple upkeep makes financial sense.
Tools and Materials You’ll Need
You don’t need much to clean an air purifier filter, most of what you need is already at home.
Essential tools and materials:
• Vacuum with brush attachment or handheld vacuum – removes loose dust safely without spreading it
• Soft-bristle brush or old toothbrush – agitates stubborn dust on filter surfaces
• Trash bin or bag – for collecting and containing dust and debris
• Optional: tap water and mild dish soap – for washable filters only
• Optional: compressed air can or air blower – alternative to vacuum for blow-off cleaning
• Safety glasses or eye protection – keep dust out of your eyes while cleaning
Do not use a pressure washer, hairdryer on high heat, or harsh chemicals on any filter. These damage the filter media, reduce effectiveness, and can void your warranty. If your filter is disposable, you don’t need any tools except a trash bin, replacement is the correct approach. Check your air purifier’s manual to confirm your filter type. Some units have washable foam pre-filters stacked above non-washable HEPA filters, so you need to know what you’re actually cleaning.
Step-by-Step Guide to Cleaning Your Air Purifier Filter
Prepare Your Workspace and Safety
Start by turning off your air purifier and unplugging it from the wall. Moving a running unit or exposing internal parts while powered on creates an unnecessary shock risk. Clear a flat, open workspace, a garage, laundry room, or outdoor area works best so dust doesn’t settle on nearby surfaces. If you’re vacuuming the filter indoors, open a window or door to let some air escape and prevent dust from becoming airborne in an enclosed space. Put on safety glasses to protect your eyes from particles. If you have respiratory sensitivity or allergies, consider a dust mask. This small preparation step prevents you from stirring up the very particles you’re trying to remove from your home.
Remove and Inspect the Filter
Locate the filter access panel on your unit, this is usually on the side, back, or top, depending on the model. Gently slide or unclip the filter frame and pull it straight out toward you. Don’t twist or force it, as hinges or clips can break. Once removed, hold the filter up to a light source and look through it. You should see light coming through: if it’s nearly opaque or so clogged you can barely see through it, the filter has reached the end of its life and needs replacement, not cleaning.
If the filter is reusable or pre-filter, you’ll see a pleated or foam structure. HEPA filters look like accordion-folded white or pink paper. Carbon filters are darker and denser. These different materials require slightly different cleaning approaches. Check the filter frame itself for a manufacturing date or service life indicator, some modern filters have date stamps showing when they were installed.
Clean the Filter Using the Right Technique
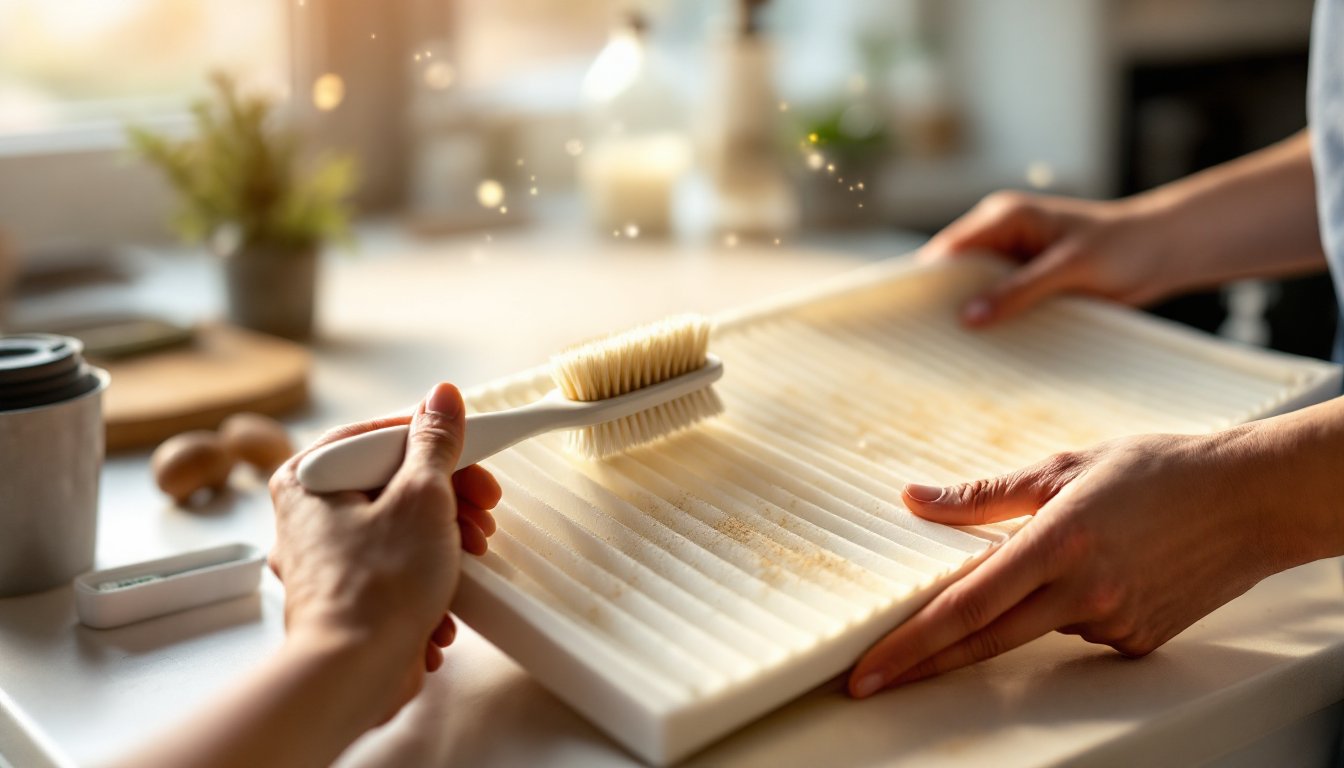
For reusable foam or pleated pre-filters, start with your vacuum on low suction with the brush attachment. Hold the filter vertically and slowly move the vacuum across the filter surface, working from top to bottom. The goal is gentle dust removal, not aggressive scrubbing. If dust is stubborn, use a soft-bristle brush to loosen it, then vacuum again. You can also take the filter outside and tap it gently against your hand or a bucket to dislodge dust, this works surprisingly well for surface debris.
For washable filters, rinse them under cool tap water. Never use hot water, which can shrink or warp the material. If dirt is heavy, add a drop of mild dish soap and gently rub the filter with your fingers or soft brush under running water. Rinse thoroughly until the water runs clear, then shake out excess water and set the filter on a clean towel to air-dry completely, at least 2 hours, preferably overnight. Never reinstall a wet filter: moisture promotes mold growth and reduces performance.
For HEPA filters and carbon filters, avoid water altogether. Use a soft brush or gentle vacuum on low suction to remove surface dust. You can also use compressed air in short bursts, keeping the can upright and directing air across the filter pleats, not against them. If your HEPA filter is very clogged and cleaning doesn’t restore airflow, replacement is your best option. Some HEPA filters claim partial washability, check your manual before water rinsing any HEPA filter. Once your filter is clean and completely dry, slide it back into the unit with the frame aligned, push it in until you hear or feel it click, and plug the purifier back in.
When to Replace Instead of Clean
Not every filter deserves a second chance. True disposable filters are designed to be thrown away, not cleaned. If your manual says “non-washable” or “disposable,” cleaning them is pointless and wastes your time. These filters are made of tightly packed material that clogs permanently: washing degrades the media further and defeats the purpose.
You should also replace a filter if cleaning doesn’t restore airflow. Many homeowners report that regular maintenance keeps filters functional for 6–12 months, but if your filter is flattened, torn, discolored in spots, or smells musty even after cleaning, replacement is due. Particles might be passing through a damaged filter unfiltered, and mold smell indicates the filter has become a colony for microorganisms.
Cost and convenience sometimes favor replacement. Expert advice on cleaning air purifier filters emphasizes that washable filters may cost more upfront but save money long-term. But, if your filter is cheap, replacement is often easier than careful cleaning. Consult your air purifier’s manual for filter lifespan. Most manufacturers recommend replacement every 6–12 months depending on usage and home air quality. If you live in a dusty area, run your purifier 24/7, or have pets, plan for more frequent replacement. Setting a reminder on your phone when you install a new filter ensures you don’t forget and lets you clean before it’s fully clogged.