
A dishwasher tailpiece is one of those unglamorous but critical plumbing fittings that homeowners often overlook until water starts pooling under the sink. This small component connects your dishwasher’s pump to the drain line, and when it fails, your kitchen quickly becomes a wet mess. Whether you’re dealing with a slow leak, a burst of water during a cycle, or backup water returning to the dishwasher, understanding your tailpiece can save you hundreds in water damage and professional service calls. This guide walks through identifying problems, preventing failures, and tackling a replacement yourself.
Table of Contents
ToggleKey Takeaways
- A dishwasher tailpiece is a critical plastic or metal hose that connects your dishwasher’s pump to the drainage system, and failure can lead to costly water damage if left unaddressed.
- Common signs of a failing tailpiece include water pooling under the sink, slow drainage, or blockages caused by loose clamps, corrosion, or food debris accumulation.
- You can often fix minor leaks by simply tightening the hose clamp with a flathead screwdriver, but persistent drips or blockages require full tailpiece replacement.
- Replacing a dishwasher tailpiece is a DIY-friendly project that takes 30–45 minutes and costs under $30 in parts—much cheaper than professional plumbing services.
- Always use stainless steel hose clamps (not corroded ones) and avoid over-tightening during installation, as excessive pressure can crack plastic connections and create new leaks.
- Confirm your dishwasher’s correct hose diameter (typically ½ inch or ¾ inch) before purchasing replacement parts to ensure proper fit and function.
What Is a Dishwasher Tailpiece?
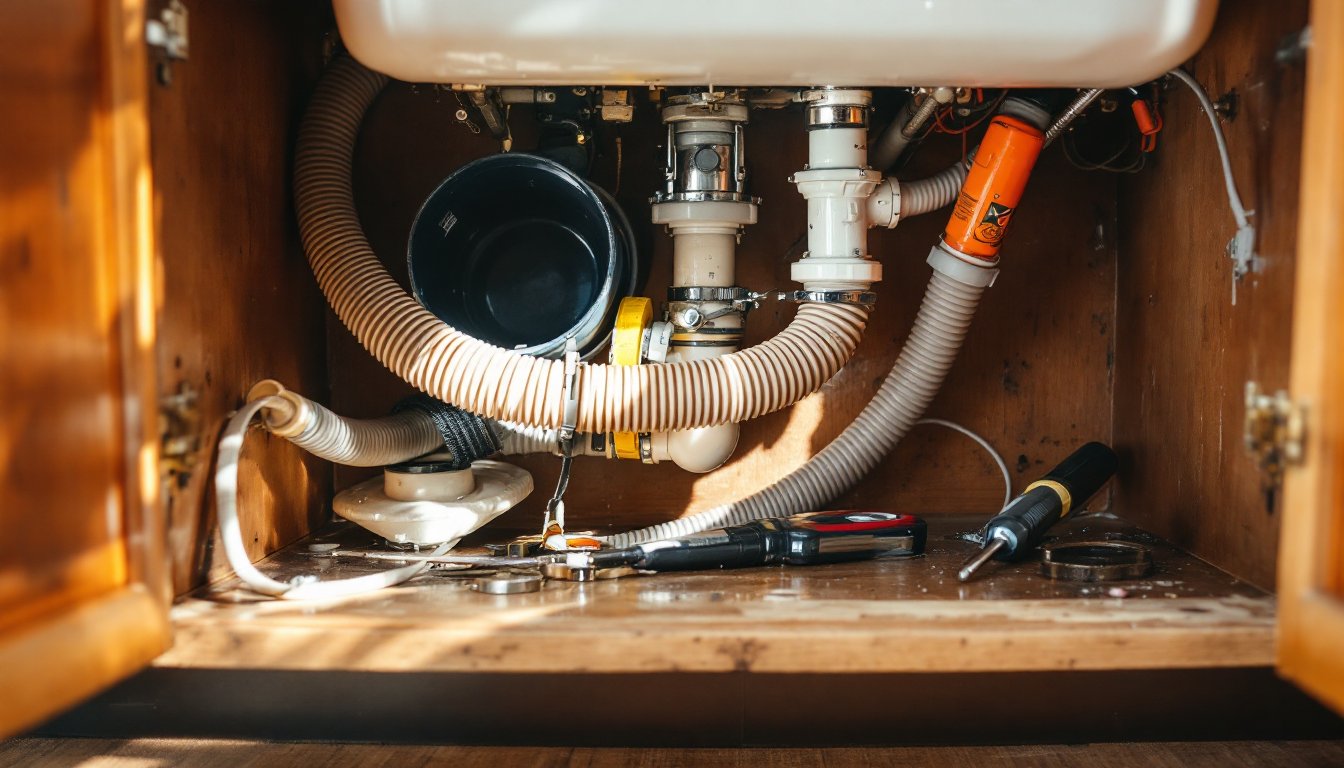
A dishwasher tailpiece is a plastic or metal tube that carries wastewater from your dishwasher’s pump directly into your home’s drainage system. It’s typically a corrugated hose ranging from ½ inch to ¾ inch in diameter, positioned behind the kick panel or cabinet toespace. One end attaches to the dishwasher’s drain port via a hose clamp: the other connects to either your sink’s drain basket, a separate drain line running to the wall, or a garbage disposal.
The tailpiece itself isn’t complicated, but its location, cramped, damp, and subject to heat from both the dishwasher and sink pipes, makes it vulnerable to wear. Most residential tailpieces are made of flexible plastic for easier installation, though some premium units use reinforced rubber or braided metal sleeves for added durability. The hose clamps that secure each end are equally important: a loose clamp or corroded fastener can trigger a leak before the tailpiece itself fails.
Common Dishwasher Tailpiece Problems and Signs of Failure
Leaks and Water Damage
The most obvious sign of a failing tailpiece is water under the sink during or immediately after a wash cycle. Look for water pooling near the dishwasher cabinet opening, staining on cabinet bottoms, or moisture on the flooring underneath. Leaks typically occur at one of three points: where the hose clamp connects to the dishwasher pump port, at the drain connection, or along a crack or split in the hose itself.
Small drips often come from a loose hose clamp. Before assuming you need a full replacement, try tightening the clamp with a flathead screwdriver, turn clockwise until snug. If tightening doesn’t stop the drip within a few cycles, the clamp may be corrosed or the hose connection may be cracked. In either case, replacement is the safest fix.
Blockages and Drainage Issues
If your dishwasher isn’t draining fully and water sits in the tub at the end of the cycle, the tailpiece may be blocked or kinked. Food debris, grease buildup, and mineral deposits accumulate over time, especially if water pressure is low or if you’re regularly running highly soiled loads without pre-rinsing. A kinked or pinched hose will also block flow: this happens when the hose gets compressed during cabinet assembly or shifted during a repair.
You’ll notice slow draining first, water takes longer to pump out, followed by complete stalling on future cycles. Some homeowners also report a musty smell from the dishwasher, which signals bacterial growth in standing water inside the hose.
How to Replace a Dishwasher Tailpiece
Tools and Materials You’ll Need
Tools:
- Flathead and Phillips head screwdrivers
- Adjustable wrench or slip-joint pliers
- Bucket or small tray (to catch residual water)
- Flashlight (the space under the sink is dim)
- Hose clamp tool (optional, but speeds up removal)
Materials:
- Replacement dishwasher tailpiece/hose (check your dishwasher’s manual or model number for the correct diameter and length)
- Two stainless steel hose clamps (new ones: old clamps can corrode or weaken)
- Plumber’s tape or sink putty (if you’re re-securing the drain connection)
For supplies, don’t assume all hoses fit all dishwashers. A standard ¾-inch corrugated hose works for most models, but some compact or older units use ½-inch. Measure your current hose or locate your dishwasher’s model number online to confirm before purchasing.
Step-by-Step Replacement Instructions
1. Shut off power and water to the dishwasher. Locate your dishwasher’s circuit breaker and switch it off, then close the water shut-off valve (usually under the sink near the hot water line). Open the dishwasher door and let it drain completely if possible.
2. Access the space behind the kick panel. Remove the bottom front panel of your dishwasher (usually held by 2–4 screws). You’ll now see the pump assembly and hose connections. Position your bucket underneath to catch any remaining water.
3. Loosen and remove the old hose clamps. Using a flathead screwdriver, turn the clamp screw counterclockwise until the clamp is loose enough to slide off the hose. Do this at both the pump port and the drain connection. If a clamp is severely corroded, apply penetrating oil (like WD-40) and wait 5–10 minutes before attempting removal.
4. Disconnect the old tailpiece. Gently twist and pull the hose away from the pump port. If it’s stuck, apply heat from a hair dryer for a few seconds to soften the plastic, then try again. At the drain end, unscrew or unclamp the connection, this depends on whether you’re connected to a disposal, drain basket, or wall outlet.
5. Measure and prepare the new hose. Lay the new hose between the pump port and drain connection to estimate the correct length. Most hoses come oversized: you’ll trim the excess with a utility knife if needed. Ensure both cut ends are smooth (rough edges can cause leaks or cracks).
6. Attach the new hose to the pump port. Slide the new hose onto the pump outlet, then position a stainless steel clamp over the connection point. Tighten the clamp with a screwdriver until it’s snug but not over-tightened (over-tightening can crack plastic fittings). The clamp should hold the hose firmly without cutting into it.
7. Connect the drain end. If draining to a disposal, insert the tailpiece into the disposal’s inlet and secure with a clamp. If draining to a standalone drain line or basket, secure the connection the same way. Make sure the hose isn’t kinked or pinched once everything is positioned.
8. Test for leaks. Reattach the kick panel, turn water and power back on, and run a short cycle or fill the dishwasher manually via the rinse cycle. Watch under the sink for any drips. If you spot water, turn everything off, inspect the clamps, and tighten as needed.
Safety note: When handling the old hose, wear nitrile gloves. Dishwasher drain water contains food particles and bacteria. Avoid inhaling dust if the hose interior is moldy: a simple dust mask provides adequate protection for this task.
If your dishwasher is a built-in model and you’re unfamiliar with the exact attachment points, reviewing the dishwasher installation process can clarify the plumbing layout. Many DIYers also reference comprehensive installation guides when tackling their first replacement. For detailed visual walkthroughs of the entire setup, consult professional dishwasher installation resources that show the tailpiece in context.
Final Thoughts
Replacing a dishwasher tailpiece is a straightforward project that takes 30–45 minutes and costs under $30 in parts. The key is addressing leaks and blockages promptly, delaying a repair risks water damage to cabinet flooring and subflooring. Always use stainless steel hose clamps and avoid over-tightening, which can degrade plastic connections. If you’re uncertain about your dishwasher’s specific drain setup or encounter a connection you don’t recognize, don’t guess, consult your manual or contact the manufacturer. A small question now beats a costly professional service call later.